Faucet / Shower Leak Repair

Leaky faucets and shower heads can be a drain in more ways than one. They can run up water bills, prevent sinks and tubs from drying, and are just generally problematic. With SharkBite, you can fix those leaky showers or faucets, and take care of the pesky problem with no more headaches.
How To Fix a Faucet Leak Above the Sink
A faucet leak does not always mean dripping water at the faucet itself. However, if this is the case, oftentimes the solution is simply to tighten the packing nut at the base of the stem underneath the faucet handle. Simply remove the handle and tighten the nut.
If that doesn’t do the trick, shut off the water at the valve below the sink, then:
- Open both the hot and cold taps to empty them of water.
- Remove the stem assembly by unscrewing the packing nut.
- Replace the washer at the bottom of the assembly or apply a small amount of putty.
- Reassemble the handle and test it.
How To Fix a Faucet Leak Below the Sink
A leaking faucet underneath the sink is a much more serious concern. This can lead to rot and serious structural damage to the house. If you see signs of water damage beneath the sink, you most likely have a leak in one of the risers, which are easily replaced with a SharkBite Faucet Kit.
First, completely dry the affected area and check for any rotted wood that might need to be replaced. Then open both the hot and cold taps to see on which side the leak is occurring, if not both. Once you’ve found the leak, turn off the supply to the sink and open the taps to drain them of water. Then:
- Remove the defective riser.
- Thread the new riser onto the compression end of the stop valve.
- Connect the other end of the riser to the faucet.
You can also install custom length 3/8″ OD PEX risers. To do this:
- Cut the pipe to the desired length.
- Push the pipe into the valve to the correct depth.
- Push the other end of the pipe into a faucet connector.
- Thread the connector onto the fixture.
How To Fix a Leaky Shower
It’s natural for accumulated water to continue dripping for a short time after turning off a shower head. However, if the shower keeps dripping throughout the day, there’s a leak that needs to be fixed.
First, check to see if the problem is the handle. Confirm that the handle is fully in the off position and that water is still coming out. Then turn off the water at the nearest shutoff valve and:
- Remove the shower handle and faceplate.
- Remove the cartridge behind the handle.
- Insert a new cartridge and replace the faceplate and handle
- Turn the water back on and check the handle in the off position.
If a new cartridge doesn’t do the trick, the leak could be originating in the faucet or shower head. Turn off the water supply again, then:
- Remove the shower head and allow the water to drain.
- Replace the rubber gasket behind the shower head, ensuring that it fits snuggly and doesn’t move.
- Reattach the shower head.
- Turn the water back on and check for the leak again.
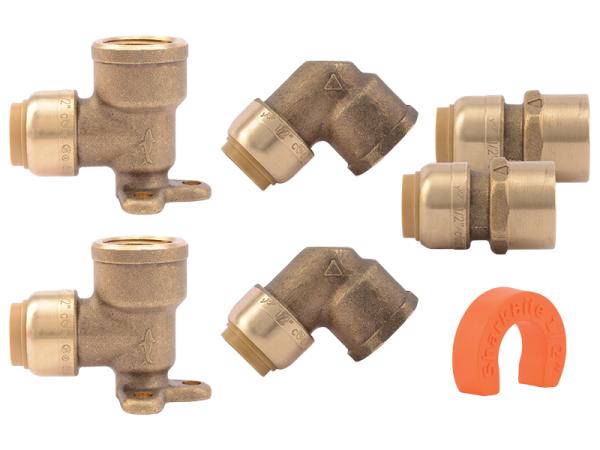
If any leaks persist after these fixes, here are a few products you might need to get the job done:
- Faucet Kits to fix those under-the-sink leaks.
- Faucet Connectors to connect the risers to the faucet.
- PEX Tubing to create custom length risers.

Related Products